+86-18367343973

 English
 Español
 عربى
عربى
Article Directory
- 1 01 Pre-Installation Assessment: Structural Foundation for Success
- 2 02 Material Selection: Matching Product to Application
- 3 03 Installation Sequence: The Seven-Step Protocol
- 4 04 Expansion & Contraction: The Physics Every Installer Must Respect
- 5 05 Common Installation Failures & Prevention
- 6 06 Quality Standards & Post-Installation Checklist
- 7 07 Maintenance Schedule: Protecting 20-Year Longevity
- 8 08 Frequently Asked Questions on PVC Soffit Installation
01 Pre-Installation Assessment: Structural Foundation for Success
Installation begins not with materials but with inspection. The supporting structure—fascia boards, roof framing, existing soffit remnants—determines whether PVC soffit boards will perform for 20+ years or fail within 5. Rot, settling, or inadequate support cascades into panel deformation, loose fastening, and moisture intrusion.
Structural Integrity
Probe fascia boards for rot. Test framing with a moisture meter (should read below 15%). Replace compromised members before proceeding.
Moisture Damage History
Look for water staining, mold, or soft wood. Address root causes (gutter failure, inadequate drainage) before installation.
Ventilation Pathway
Verify continuous soffit-to-ridge airflow. Obstructions negate ventilation benefits and invite attic moisture problems.
Support Levelness
Use a 6-foot level to check fascia alignment. Deviation >¼" over 10 feet requires shimming to prevent panel gaps.
02 Material Selection: Matching Product to Application
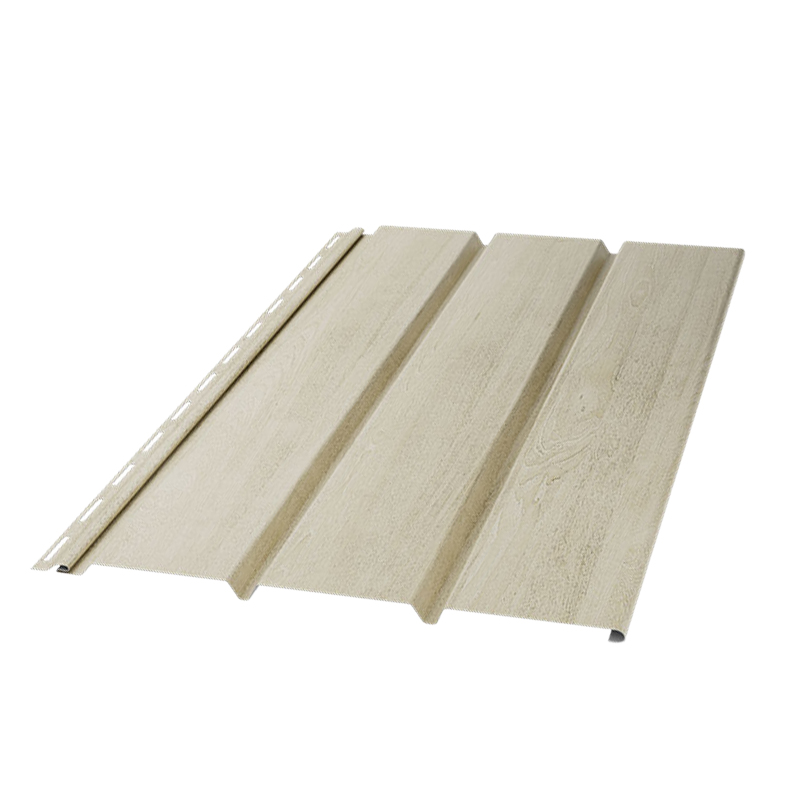
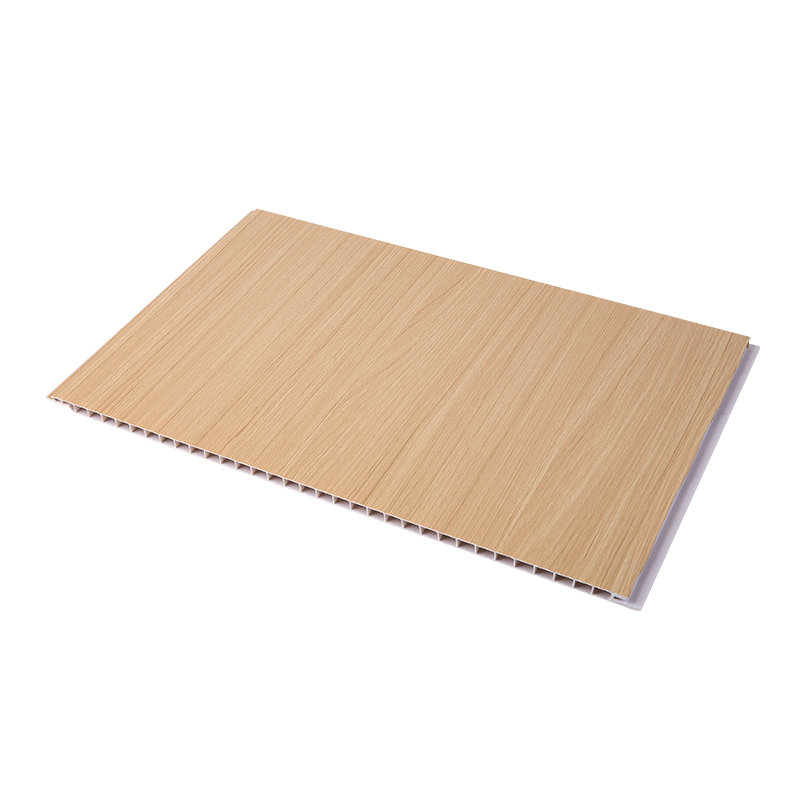
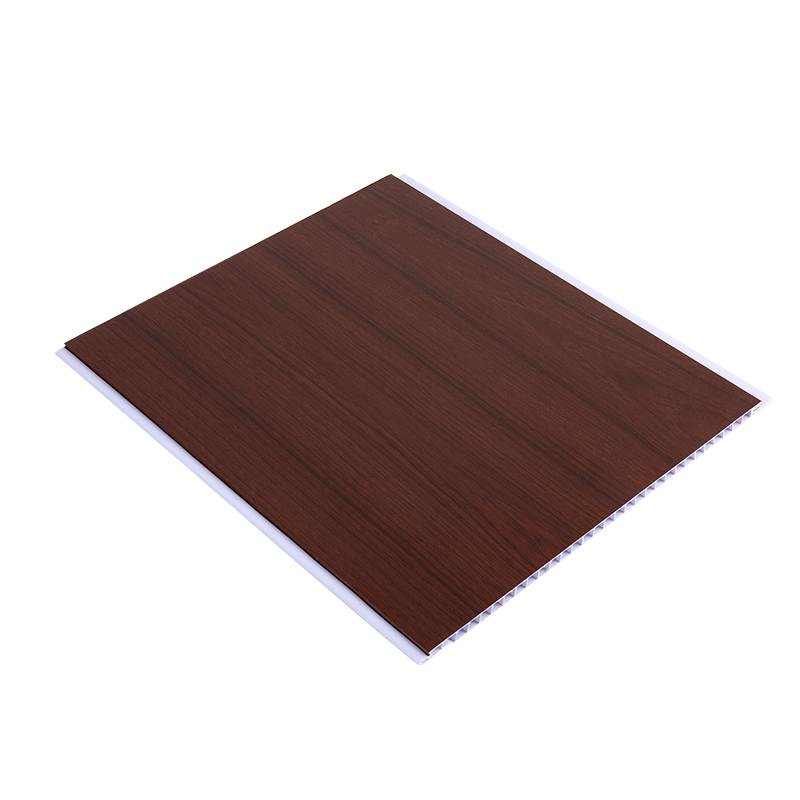
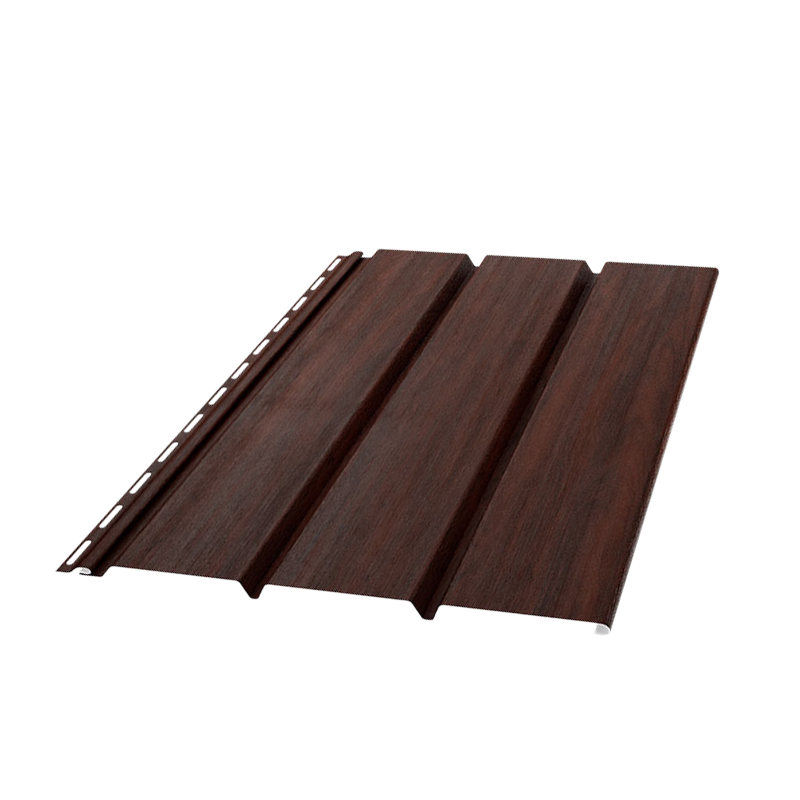
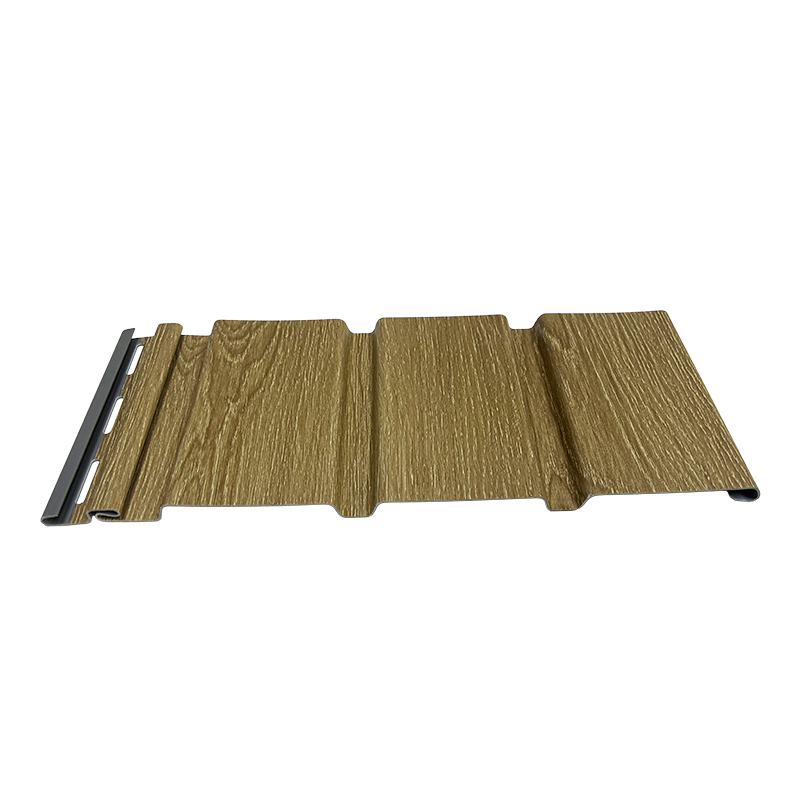
Two PVC soffit types dominate the market, each serving distinct purposes. Selection depends on ventilation requirements, climate, and aesthetic goals.
03 Installation Sequence: The Seven-Step Protocol
Professional installation follows a strict sequence. Deviation (e.g., fitting panels before installing trim channels) creates alignment problems and wasted materials. Each step depends on the previous one.
Stage 1
Channel & Trim Preparation
Install J-channels along the house fascia and F-channels at the roof edge. Channels provide the track system that supports soffit panels and accepts trim edges. Ensure channels are level (tolerance: ±¼" over 10 feet) and secured every 16" with corrosion-resistant fasteners.
↓
Stage 2
Soffit Board Measurement & Cutting
Measure from J-channel to F-channel at multiple points (panels shrink/expand with temperature; cut to 95% of measured distance to allow expansion). Use a fine-toothed saw; PVC shatters if cut with dull blades. Deburr cut edges to prevent snagging during installation.
↓
Stage 3
Panel Insertion & Alignment
Slide first panel into J-channel and F-channel, ensuring full seating. Check for twists or bows. Temporary fasteners at panel ends (not permanent yet) hold alignment while subsequent panels are installed.
↓
Stage 4
Sequential Panel Fitting
Install subsequent panels, maintaining consistent 1/8" expansion gaps between panels. Stagger joints across installation width to avoid stress concentrations. After all panels are in place, check alignment one final time before permanent fastening.
↓
Stage 5
Secure Fastening (Loose, Not Tight)
Drive fasteners (1¼" stainless-steel screws, or coated nails) every 16" along panel length. Critical: Do not over-tighten. Fasteners should allow slight panel movement—PVC expands ~0.3 inches per 100 linear feet per 50°F temperature change. Over-tight fasteners trap panels, causing buckling.
↓
Stage 6
Corner & Edge Finishing
Install corner caps at inside and outside corners. Install end closures or trim caps to seal panel edges against weather. Seal gaps with paintable polyurethane caulk (silicone degrades PVC over time).
↓
Stage 7
Final Inspection & Testing
Walk the perimeter checking panel alignment, fastener seating, and trim fit. Verify vented sections breathe (wave hand near vents—feel airflow). Document with photos. Provide homeowner with maintenance schedule.
04 Expansion & Contraction: The Physics Every Installer Must Respect
PVC expands and contracts with temperature. A 50-foot run experiences ~1.8 inches of movement across a 100°F temperature swing. Installers who ignore this physics guarantee future failure—buckling, popping, warping, separation.
05 Common Installation Failures & Prevention
Buckling from Over-Tight Fasteners
Symptom: Wavy panels appearing weeks after installation.
Cause: Fasteners driven too tight, trapping panels during temperature rise.
Prevention: Leave fasteners loose enough to allow 1/8" movement—test by hand-pushing panel after fastening.
Moisture Intrusion from Gaps
Symptom: Water staining on interior soffit, mold growth after 1–2 years.
Cause: Inadequate sealing at trim joints or missing end caps.
Prevention: Caulk all trim-to-panel joints with paintable polyurethane; cap all open panel ends.
Blocked Ventilation
Symptom: Attic heat accumulation, reduced shingle life, ice dams in winter.
Cause: Insulation or debris blocking vented soffit openings.
Prevention: Install foam baffles in attic to keep airflow clear; schedule annual vent inspection.
UV Fade & Discoloration
Symptom: Color shift after 5–7 years, chalking when wiped.
Cause: Poor-quality PVC lacking UV stabilizers; cheap colorants.
Prevention: Specify virgin PVC with TiO₂ UV package; avoid recycled PVC for visible applications.
06 Quality Standards & Post-Installation Checklist
07 Maintenance Schedule: Protecting 20-Year Longevity
6 Months
First inspection after installation. Check all joints for caulk separation; reapply if needed.
Annual
Clean vented soffits of debris/insect nests. Inspect for loose fasteners or panel movement. Verify trim integrity.
Every 3 Years
Full perimeter walk-through. Caulk any new gaps. Hose down exterior and check for water staining beneath.
Every 5 Years
Professional inspection. Evaluate caulk durability and panel performance. Plan for caulk replacement (expected life: 5–7 years).
08 Frequently Asked Questions on PVC Soffit Installation
How much thermal movement should I budget for in a 40-foot run?
A 40-foot span experiences approximately 1.4 inches of expansion between winter (-20°F) and summer (+80°F). Install expansion joints or use flexible trim channels at 25-foot intervals to accommodate this movement without stress concentration.
Can I install PVC soffit over existing aluminum?
Yes, if the aluminum is structurally sound and level. Aluminum expands at a different rate than PVC, so ensure fastening allows independent movement of both materials. Use trim channels rated for both materials (dual-profile channels exist for this purpose).
What's the difference between painting and staining PVC soffit?
PVC doesn't absorb paint like wood; use only acrylic latex paint formulated for plastic substrates (brands like Sherwin-Williams A-100 Exterior). Staining doesn't work on PVC. Pre-colored PVC is superior to post-installation painting for longevity.
Should I use silicone or polyurethane caulk?
Polyurethane caulk only. Silicone is incompatible with PVC—it plasticizes the material, causing softening and discoloration. Paintable polyurethane (DAP DryDex, OSI QUAD) bonds well to PVC and maintains flexibility through thermal cycles.
How do I repair a punctured or cracked soffit panel?
Small cracks (under 1 inch) can be epoxied and sanded flush. Punctures or splits over 2 inches require panel replacement. Fortunately, panels can be individually removed and replaced without disturbing adjacent installations.
 |
 |